
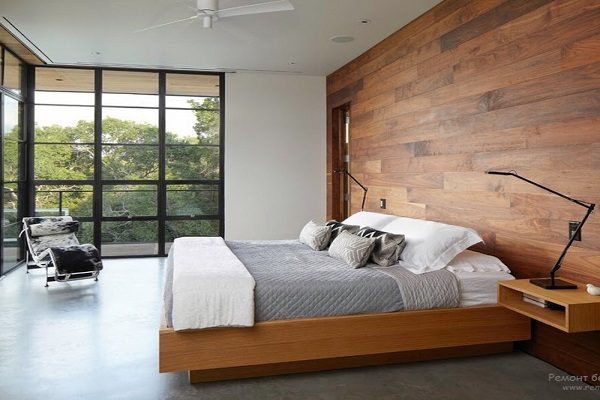
Ever since the beginning of time, man has found many useful purposes for wood. Now that we’ve become the era of DI…
DIY

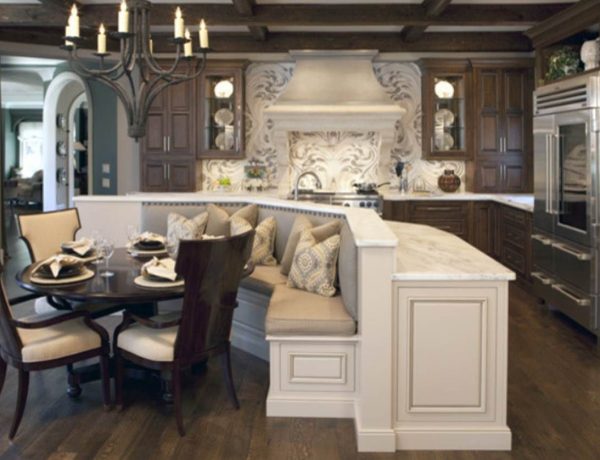
15 Kitchen Remodeling Ideas On A Budget
Ever wondered what potential lies in your outdated, old kitchen area? Well get some awesome inspiration from our li…
10 Living Room Remodeling Ideas
Have you been considering remodeling your living room? We know it can sometimes be a difficult job to pick and chose wha…
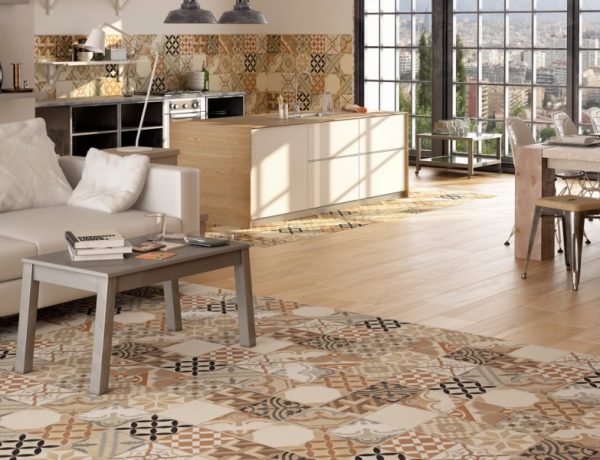
Top 10 Tile Trends For 2016
Have an urge to change the tiles in your home? Well we’ve compiled to perfect list for you! We’ve searched u…